
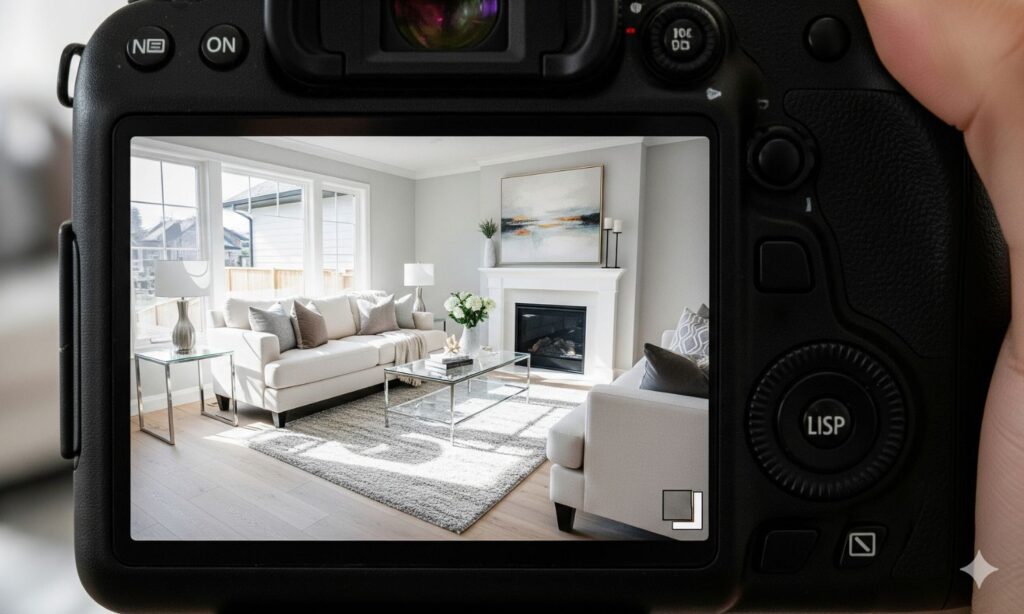
As photographers, we understand the power of an image. A single, well-composed photograph can evoke emotion, tell a story, and capture attention in a way that words alone cannot. In the fast-paced world of real estate, that power is magnified tenfold. The photos in a property listing are often the first—and sometimes only—chance you have to make a lasting impression on potential buyers.
But here’s a secret that every professional real estate photographer knows: the best photos don’t start with the camera. They don’t start with the lens, the lighting, or the tripod. They start with the canvas itself—the home.
Just as a portrait photographer relies on a subject who is prepared for their session, a real estate photographer needs a home that is staged to shine. This guide is for the homeowner who wants to prepare their property to be the perfect subject, ensuring every shot captures its maximum potential and allure.
Why Staging is the Secret Ingredient to Stunning Photos
Before we even think about camera settings or angles, we must consider what the camera will see. Staging is the process of preparing a home for sale by making it look clean, spacious, and inviting. For a photographer, a well-staged home is a dream to shoot.
- It Defines the Space: Proper furniture arrangement helps define the purpose of each room, showing potential buyers exactly how they could live in the space. This clarity translates directly into stronger, more compelling photographs.
- It Creates Clean Lines: Decluttering is the cornerstone of staging. Removing personal items, excess furniture, and everyday clutter allows the camera to focus on the home’s architectural features—the beautiful floors, large windows, and high ceilings.
- It Maximizes Light: Staging often involves strategies to enhance natural light, such as using light-colored textiles and strategically placed mirrors. For a photographer, good light is everything. It makes spaces feel brighter, larger, and more welcoming.
Ultimately, great preparation is one of the most effective methods for adding value to your listing, as it directly impacts the quality of the marketing photos that will draw buyers in.
The Exterior Shot: Setting the Scene for a Great First Impression
The very first photo a potential buyer will see is almost always the exterior. This is your digital handshake. It needs to be welcoming, well-maintained, and appealing. Before a photographer can capture that perfect “hero shot,” the scene needs to be set.
This involves looking at your property with a critical, photographic eye. Are there overgrown bushes casting harsh shadows on the house? Is the walkway cluttered with toys or tools? Is the paint peeling? These details will be magnified on camera. A great first step is to improve your curb appeal. Simple tasks like mowing the lawn, planting fresh flowers, washing the windows, and painting the front door can dramatically transform your home’s exterior from average to irresistible. Think of it as composing your shot before you even pick up the camera.
Staging the Interior: A Photographer’s Room-by-Room Checklist
Once the exterior is ready, it’s time to move inside. The goal is to create a series of images that flow beautifully, telling a cohesive story of the home.
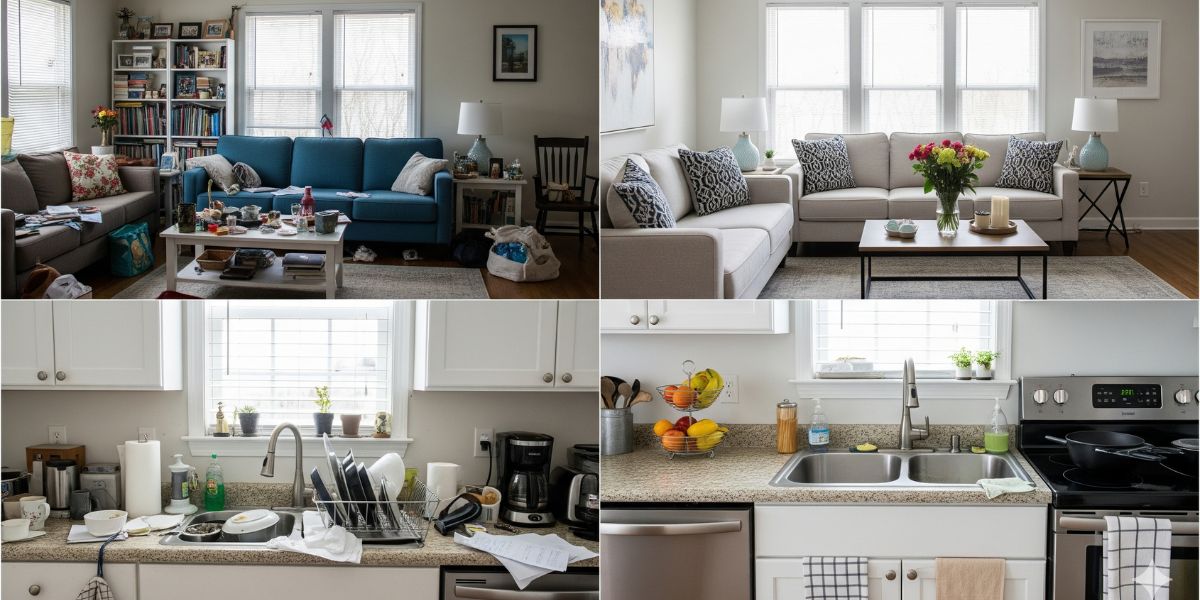
- The Living Room: Arrange furniture to create conversational groups and clear pathways. The goal is to make the room look spacious and easy to navigate. Remove oversized pieces that make the room feel cramped. Add fresh pillows and a cozy throw blanket to add a touch of warmth and texture that looks great on camera.
- The Kitchen: This is often the star of the show. Clear everything off the countertops except for a few intentional, decorative items—a bowl of fresh fruit or a stylish coffee machine. Hide the dish soap, sponges, and trash can. A clean, uncluttered kitchen looks pristine and high-end in photographs.
- Bedrooms and Bathrooms: Make bedrooms feel like serene retreats. Make the beds perfectly, clear off nightstands, and ensure closets are organized (in case the photographer is asked to shoot them). In bathrooms, hide all personal toiletries. Fresh, white towels, a new bar of soap, and a small plant can make a bathroom feel like a spa.
For an in-depth, professional perspective on this process, Architectural Digest offers a guide on how professional stagers get a home ready, which provides excellent ideas that will make any home more photogenic.
Knowing What Photography Can—and Cannot—Fix
As photographers, we have powerful tools at our disposal. We can find the best light, use wide-angle lenses to make spaces feel open, and use post-processing to enhance colors and correct minor imperfections.
However, it’s crucial to understand the limitations of the craft. That’s why it’s important to know what real estate photography does not help with. A camera cannot fix a dirty, cluttered, or poorly maintained home. In fact, high-resolution cameras can often highlight these problems. No amount of skilled photography can hide peeling paint, a stained carpet, or a room overflowing with clutter. The magic happens when a beautifully prepared home meets a skilled photographer’s eye.
The Final Shot
Preparing your home for a real estate photoshoot is about more than just cleaning up. It’s about creating a scene. It’s about styling your space so that it tells a story of comfort, beauty, and possibility. By taking the time to stage your home effectively, you’re not just making the photographer’s job easier—you’re investing in the quality of your listing, ensuring that every image works as hard as possible to attract the perfect buyer.